
Table of Contents ×
- 1 1. What Should You Include in the Pre-Production Phase?
- 2 2. How Do You Execute a Smooth Video Production Process?
- 3 3. What Happens During Post-Production?
- 3.1 Import and Organize Footage
- 3.2 Edit the Video for Flow, Clarity, and Pacing
- 3.3 Add Branded Elements
- 3.4 Insert Background Music and Sound Effects
- 3.5 Add Subtitles or Captions
- 3.6 Include a Call-to-Action (CTA)
- 3.7 Review and Revise Based on Feedback
- 3.8 Export the Video in the Correct Formats
- 4 4. How Should You Distribute Your Marketing Video?
- 5 5. How Do You Optimize and Repurpose Video Content?
- 6 Takeaway: How to Streamline Your Video Workflow
A marketing video production checklist should consist of five key stages: pre-production, production, post-production, distribution, and optimization. Each stage includes essential tasks to help you plan, create, and deliver videos that align with your marketing goals and engage your audience effectively.
At Breadnbeyond, we have our own process for creating marketing videos.
I can’t speak for every studio since each one has its own unique workflow.
I wanted to share a general rule of thumb that will help you navigate the production process more smoothly and avoid common pitfalls.
1. What Should You Include in the Pre-Production Phase?
There are quite many things to do at the video pre-production stage, including defining your target audience, setting clear objectives, choosing a video type, writing a script, and more.
From my experience running an explainer video company for over a decade, I’ve learned one thing for sure: pre-production sets the tone for everything that follows.
Define Your Target Audience
Before we write a single word of script for our clients, we make sure that we get crystal clear on the target audience.
So, it’s always best to take some time and ask yourself: Who are you speaking to?
Narrow down your audience by demographics, behavior, interests, and pain points.
A clear audience profile helps you craft a message that resonates and prompts action.
Set Clear Objectives
What do you want your video to actually do?
For instance, I always start by helping clients set specific, measurable goals, whether raising brand awareness, generating leads, educating users, or boosting sales.
Clear goals guide creative decisions and give you something tangible to measure afterward.
Choose the Video Type
Different goals call for different formats.
That’s why I work closely with clients to pick a video style that matches their message and audience.
Want to simplify a complex idea? An explainer video is a go-to. Want to highlight features? A product demo works best. Need to build trust? Try a customer testimonial.
When it comes to video styles, one size never fits all, and choosing the right type is half the battle.
Write a Compelling Script
Your script is your blueprint. It’s where the story takes shape.
In our internal production, we push for clarity, brevity, and brand alignment.
That means a strong hook in the first few seconds, a clear message throughout, and a CTA that moves people to act.
If you need help, we’ve created an explainer video script cheat sheet based on years of writing for clients across every imaginable industry.
Create a Storyboard or Shot List
Once the script is locked, it’s time to visualize.
A storyboard is a must for animated videos. It shows the flow, transitions, and key scenes.
A shot list is just as crucial for live-action content to keep the shoot efficient, and nothing gets missed on set.
We rely on both to keep production smooth and stress-free.
As we used a digital storyboard, it usually looks like this:
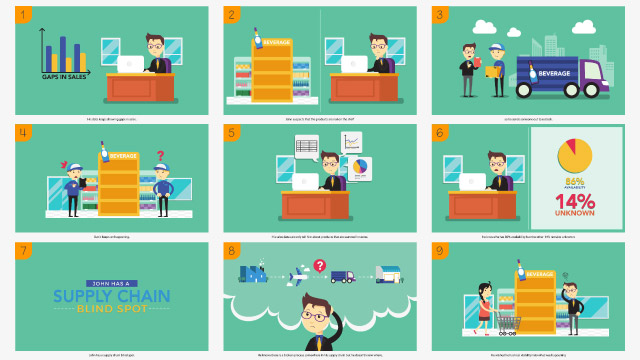
An example of a storyboard for Hive produced by Breadnbeyond.
That’s the storyboard we created for our client, Hive. Watch the video:

Plan Visual Style and Branding Elements
What should your video feel like? At this stage, you should lock in the visual direction (colors, fonts, logo placement, transitions, motion graphics).
Everything has to align with your brand voice and appeal to your audience.
Consistency here helps make the video instantly recognizable as yours, not just “a video.”
Decide on the Platform(s)
Where your video lives affects how it’s made.
You’ll want longer-form content with strong SEO for YouTube.
Or if you post on Instagram Reels, vertical videos with fancy visuals are recommended. Meanwhile, for LinkedIn, Tone it down and keep it professional.
Plan your content around each platform’s requirements and quirks, ensuring that nothing falls flat.
I’ve rounded up some experts’ insights to help you decide which platforms might perform best for you: Where to Put Your Explainer Videos That Drive The Best Results?
Set a Budget and Timeline
Every creative project needs boundaries.
I recommend mapping out a realistic budget and timeline early, especially for review and revision rounds.
Based on our experience, this helps reduce last-minute stress and unexpected delays, which often occur during editing or feedback loops.
Some video production companies (including us!) offer a video calculator to help clients estimate costs and timelines upfront. Try our Video Production Cost Calculator here.
Assemble Your Team
Video is rarely a solo effort.
Depending on the scope, you may need a scriptwriter, animator, voiceover artist, producer, camera crew, or editor.
While doing our project, we either assign our internal specialists or help clients find the right partners.
Clarity around roles avoids confusion later and helps the whole production run like clockwork.

2. How Do You Execute a Smooth Video Production Process?
In our workflow, this is when the storyboard and script leap off the page and turn into fully animated scenes, guided by illustration, voiceover, and sound design.
We often start with building visual assets, recording voice-overs, preparing animatics, animating scenes, and reviewing.
We’ll explore each of these processes below.
Build Your Visual Assets
This is where you design all the key ingredients, including characters, backgrounds, props, UI elements, and everything in between.
From my experience, keeping everything aligned with the storyboard and brand guidelines is non-negotiable.
Whether you’re working in 2D, 3D, or motion graphics, you should always use layered, well-organized design files.
It might not be glamorous, but once animation begins, it saves a lot of time (and headaches).
Record Voiceover
A good voiceover can make or break the entire video.
That’s why I always recommend working with experienced voice actors and recording in a properly treated space.
If you do this alone, it usually takes several takes to capture the right pace, tone, and energy.
I also like to provide pronunciation guides and direction notes to keep things crystal clear, especially for technical or brand-specific terms.
To support your effort in producing a crystal clear voiceover, read our blog about voiceover equipment and everything you need to prepare.
Prepare Animatics
Before diving into full animation, I suggest building an animatic, a rough cut made from storyboard frames, scratch audio, and basic motion.
This is one of the most useful steps in the process. It lets us test pacing, flow, and scene transitions without committing hours of animation work.
I’ve learned the hard way that it’s much easier to fix problems here than after animating an entire sequence.
Animate Scenes
Finally, we come to the heart of the production.
Once you approve the animatic, continue animating based on the storyboard and timing cues.
Focus heavily on movement that feels intentional, such as character actions, smooth transitions, or how text flows on screen.
I always remind our team: pacing is everything.
Too fast, and viewers miss the message. Too slow, and they tune out.
Review and Iterate
Revisions are part of the process; you should expect them.
Once you have a rough cut, share it internally or with the client for feedback.
Here, you look for visual glitches, off-sync audio, or anything that feels off-brand or unclear.
I’ve found that thoughtful iteration takes a video from “pretty good” to “completely nailed it.”
3. What Happens During Post-Production?
I always say the post-production is where the pieces come together.
After all the hard work in scripting, designing, and animating, this is the stage where you bring everything together into a polished, professional final product.
Don’t expect the post-production to be quick and easy. It often consists of processes like:
- Importing and organizing footage.
- Editing for flow
- Adding branded elements
- Adding subtitles
- Including CTA
- Reviewing and Revising
- Exporting the result
Let’s explore each of the flows.
Import and Organize Footage
In our kitchen, we begin by importing all the visual and audio assets (illustrations, voiceovers, background music, and effects) into clearly labeled folders.
And you should, too.
Organize everything by type (scenes, characters, audio, etc.) to streamline the editing process and avoid costly mistakes later.
Edit the Video for Flow, Clarity, and Pacing
Every second counts when it comes to marketing videos.
Cut unnecessary content, tighten the narrative, and make sure the video flows smoothly.
Maintain viewer interest by keeping the pacing dynamic and transitions purposeful.
Your message should be clear and engaging from start to finish.
Add Branded Elements
This is where your brand identity has to shine.
We integrate logo animations, branded lower thirds, consistent fonts, and color palettes to subtly reinforce brand recognition without being intrusive.
If you have a logo, add it to your video, and check again if you use consistent fonts and colors.
You can also use mascots to maintain consistency across your videos, just like we do at Breadnbeyond.
We feature our signature characters, Purry and Clunky, to keep our branding fun and familiar.

Breadnbeyond’s signature characters, Clunky and Purry.
Insert Background Music and Sound Effects
Audio sets the tone. We always pick background music that fits the video’s vibe, such as upbeat, professional, or calm.
We use sound effects sparingly to support interaction cues, such as button clicks or swipes.
Just a note: always use royalty-free tracks or licensed music. That way, you won’t run into legal issues later.
Add Subtitles or Captions
Now, we always include captions in our videos, especially those meant for social media.
Most people watch videos muted, so subtitles help maintain engagement and improve accessibility.
You can generate captions automatically online, but I recommend double-checking everything to avoid embarrassing typos or sync issues.
We’ve also compiled handy video editors for editing subtitles, so you don’t have to work extra hard.
Include a Call-to-Action (CTA)
Every marketing video should leave the viewer with one clear next step.
Do you want your audience to visit your website, download an app, subscribe to your newsletter, or get in touch?
That message needs to be front and center.
I remind our team and clients that a strong CTA is more than what you say, but also how you present it.
We like to use on-screen text, visual cues (like a button or animation), and voiceover reinforcement to drive the action.
If you’re having a hard time designing yours, feel free to read our guide to the best CTA designs.
Review and Revise Based on Feedback
Once you’ve pulled everything together, the next step is showing the draft to a fresh set of eyes.
They can be your internal team, and if ready, the client. Feedback at this point is invaluable.
Let me tell you one thing. Even after years in this industry, we can still miss small things.
A slightly off-sync scene, a scene that drags a little too long, or a brand element that doesn’t quite match.
That’s why I encourage teams to view the video with a critical eye, preferably after stepping away from it for a few hours or even overnight.
During this review phase, I highly recommend that you look at:
- Pacing: Does the video keep momentum without rushing?
- Messaging: Is the core idea clear and memorable?
- Branding: Are all visuals consistent with the client’s style guide?
- Visual/Audio Quality: Are there glitches, clunky transitions, or audio balance issues?
Don’t hesitate to make multiple rounds of revisions. It’s better to iterate now than push a final video that doesn’t quite land.
Export the Video in the Correct Formats
Once everything’s locked, you move into the final step: exporting the video in the right formats.
And this is more than hitting the “Render” button.
I always ask: Where will this video live?
If it’s going on YouTube, render a full HD or even 4K version with a widescreen (16:9) format.
For Instagram Reels or TikTok, we switch to a vertical format (9:16).
For Facebook and LinkedIn, square (1:1) or vertical (4:5) often performs better.
One more thing I always check, and you should, too: subtitles and CTA overlays render correctly across all aspect ratios.
If you need a guide on this, read our detailed breakdown on video compatibility and hosting platforms.
4. How Should You Distribute Your Marketing Video?
Once your video is done, that’s actually just another start.
You make sure your video reaches the right people, on the right platforms, and at the right time.
Here, you’ll be dealing with uploading your video on selected platforms, writing an optimized title and meta description, creating a compelling thumbnail, scheduling, promoting, and tracking content performance.
Upload to Selected Platforms
I always tell clients to go where their audience already spends time. That’s where your video will get the most attention.
For example, YouTube is great for being discovered through search. LinkedIn works well for B2B connections.
Instagram shines for quick, eye-catching stories, and your own website is perfect for driving conversions.
Instead of trying to post everywhere at once, focus on a few key platforms and tailor your content to fit each one.
Write Optimized Titles, Descriptions, and Tags
Your video’s title and description need to speak your audience’s language.
That means using keywords naturally but still sounding engaging. Think about what your viewers might search for.
Moreover, tags are especially important on YouTube to boost discoverability.
And don’t forget to add links, hashtags, and timestamps where they make sense to help viewers navigate and share.
Create a Compelling Thumbnail
Your thumbnail is the first thing people see, so make it pop.
I recommend using high-contrast images, clear and readable text, and emotional expressions if your video features people.
A custom thumbnail can really boost your click-through rates compared to the default auto-generated ones.
If you look at our YouTube channels, all of our thumbnails are customized with text overlays.

Breadnbeyond’s YouTube video thumbnails.
Schedule or Publish the Video
Believe it or not, when you post matters.
I usually suggest sharing your video when your audience is most active, or using scheduling tools to hit those peak times.
If you can, coordinate your video release with product launches, marketing campaigns, or events.
It can make a big difference in how many people see and engage with your content.
Promote via Email, Social Media, and Paid Ads
It’s no longer time to rely on organic reach, as it takes time to build.
Share your video through email newsletters, social posts, blog embeds, and consider paid ads to give it a boost.
Customize your message for each channel and always include a clear call-to-action that encourages viewers to comment, share, or follow.
Track Performance with Analytics
Keep an eye on your video’s data as it guides you to optimize content more properly.
Metrics like watch time, click-through rate, engagement, and conversions will tell you what’s working and what needs tweaking.
Here’s an example: we used analytics to see that our video performed well on one of our clients’ homepages.
I consistently apply these insights to enhance future videos and refine current campaigns for improved results.
5. How Do You Optimize and Repurpose Video Content?
Now that your video is out there, it’s time to make sure it keeps working hard for you.
Optimization and repurposing are where you fine-tune performance and get the most mileage from your content.
Typically, you start with monitoring engagement, adjusting content hooks, repurposing, gathering feedback, and end with documenting lessons.
Monitor Engagement Metrics and Audience Retention
Once your video is live, keep a close eye on how viewers engage with it.
Where do they drop off? Are they clicking the CTA? Watching all the way through?
Again, metrics like audience retention, likes, shares, and comments tell us what’s really resonating and what’s failing.
If you’re using a social media tool, it might even offer suggestions on how to improve your content based on the data.
Adjust Titles, Thumbnails, or CTAs Based on Performance
If your video isn’t hitting the marks you hoped for, don’t panic.
Small changes, such as testing a more curiosity-driven title, refreshing the thumbnail, or clarifying your call-to-action, can make a big difference.
I often find that these tweaks boost both views and engagement.
Repurpose Content (Short Clips, GIFs, Teasers, Blog Embeds)
One content can be many. You can break down your video into snackable content, such as:
- Short clips for social media
- GIFs for email marketing
- Teasers for upcoming launches
- Embedded clips for blog articles or landing pages
This strategy stretches your content further and fills your content calendar without having to create everything from scratch.
At our studio, we make sure every video is used to its fullest potential. So instead of just uploading it to YouTube, we also break down the entire production process for our Behance or portfolio case studies, to give viewers a behind-the-scenes look at how each piece comes together.
For example, this animated music video we created:
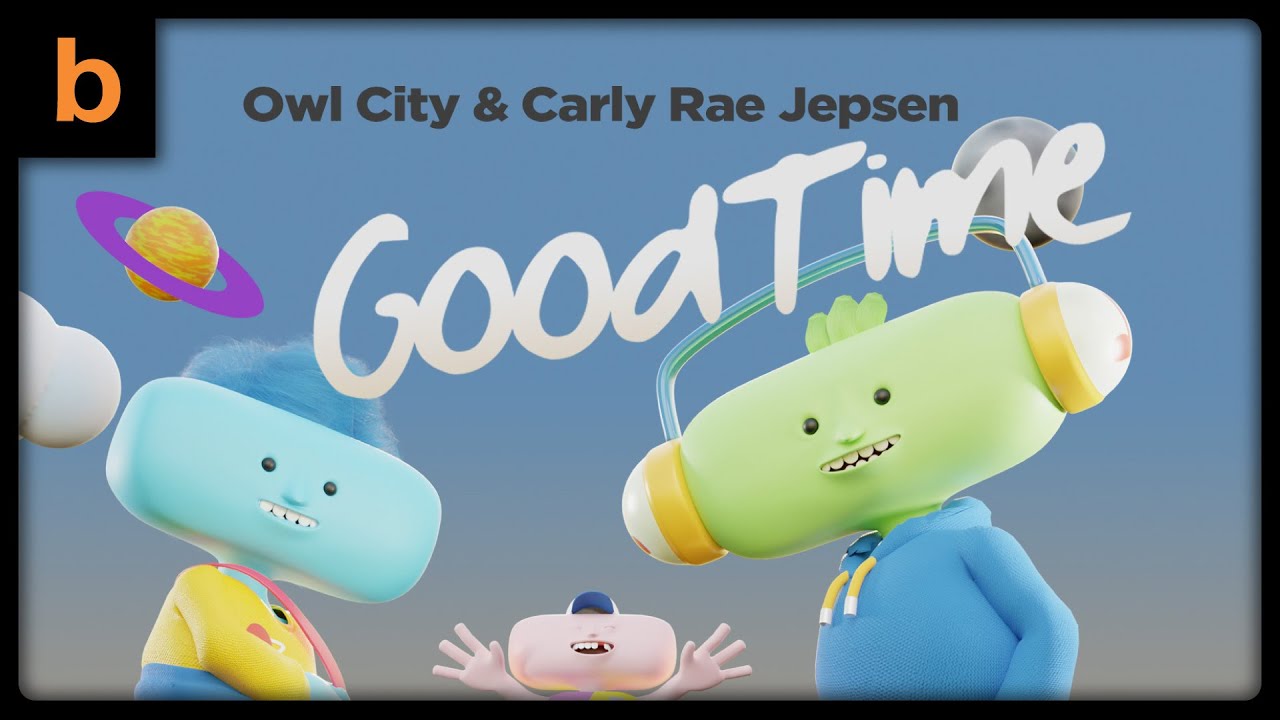
We repurposed it into another in-depth portfolio to give the project a second life while showcasing our process and style to a wider audience.

An example of a storyboard produced by Breadnbeyond.
Check out more projects on our Behance.
Gather Feedback from Stakeholders or Customers
Getting honest feedback is gold.
I make sure to ask my team and clients whether the video hit the right tone and message.
Go find your feedback, as it helps guide improvements both in the content itself and in how we create it next time.
Document Lessons Learned for Future Videos
Every video project is a learning opportunity.
I document what worked well, what didn’t, and what can be changed for next time.
Doing this not only improves future videos but also saves time and effort as our team builds on our experience.
Takeaway: How to Streamline Your Video Workflow
Creating animated videos for marketing is a full-cycle journey, starting with a clear strategy and ending with ongoing improvement.
I use this checklist to keep every production on track, from the very first concept all the way to driving conversions and measuring success.
Before you leave, here’s a quick recap:
- Pre-production lays the groundwork—define goals, know your audience, and plan every detail.
- Production is about execution—capture high-quality visuals and audio that align with your message.
- Post-production brings it all together—edit for clarity, add branding, and polish the final cut.
- Distribution gets your video in front of the right audience with strategic publishing and promotion.
- Optimization & Repurposing ensures your content works smarter—analyze, refine, and reuse.
Ready to hit play on your next video project? Try our explainer video cost calculator to see how much value you can create within your budget.